Below are a bunch of audio-related demo programs that illustrate various synthesis methods by visualizing the audio output and allowing manipulation of the synthesis parameters in real time. I’ve ported many of these to p5.js in the p5 Code page on this site, so these versions might be regarded as legacy, targeted at the hypothetical former student who wants to get at the demos I provided in my Digital Audio & Computer Music class.
Since these are all Processing programs that use the Minim audio library, you’ll first need to:
Install Processing – On your computer. Yes, it has to be a computer, not a phone or a pad. I’m distributing these programs as source code, not apps.
To run any of the programs below you’ll need to download its code as a zip file, expand the zip file to create a folder with the code in it, and then run the program in Processing. I’ll walk through setting up the “TestAddInst” program as an example:
- Open your Documents folder in a Finder window.
- There should be a “Processing” folder there, which was created when you installed Processing on your computer.
- If there is not a folder called “Processing” in Documents, make one.
- Download the zip file “TestAddInst.zip”.
- Move TestAddInst.zip into the Processing folder.
- Double-Click on TestAddInst.zip
- This should create a folder called “TestAddInst”.
- Inside the TestAddInst folder, double click on the file “TestAddInst.pde”, which should launch Processing and load up all the code for this demo into Processing.

- You should see a window with some code and two tabs near the top.
- Turn down your audio (these demos can be really loud when they begin).
- In the upper-left corner of the Processing window there should be a play button (Circle with right-pointing arrow head) and a stop button (Circle with a square in it).
- Click the play button.
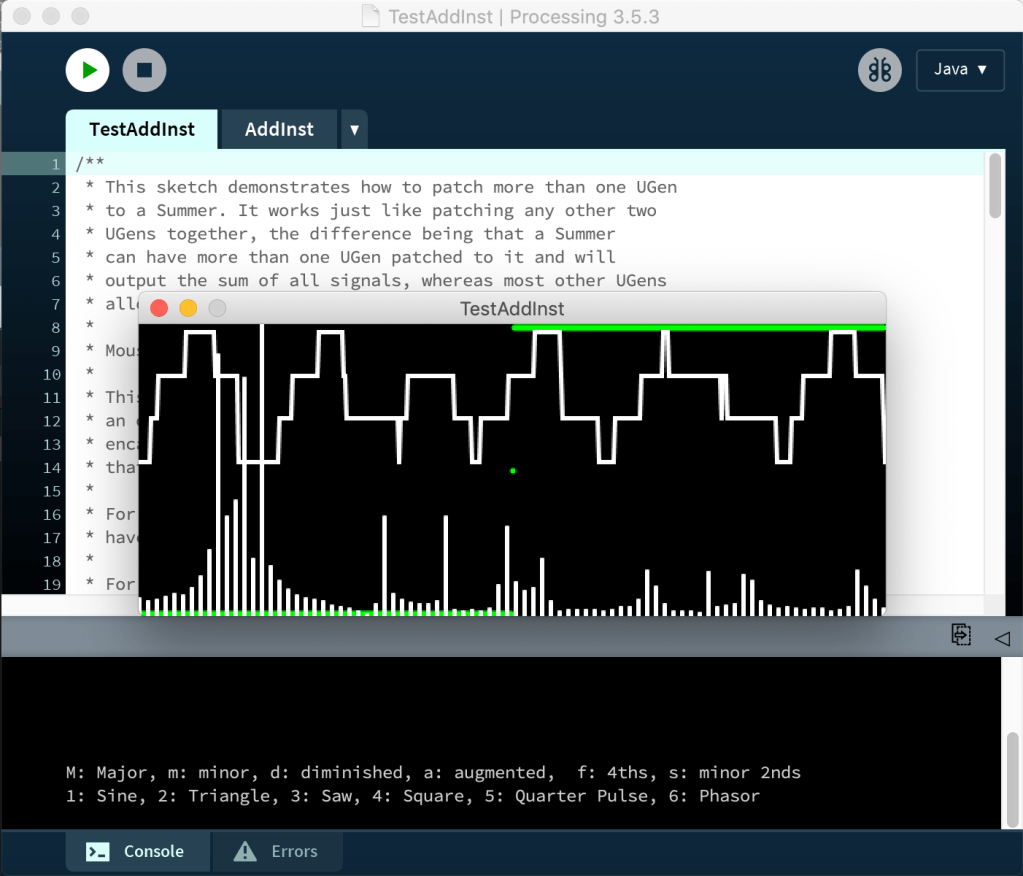
- A smallish window should appear over some of the code, and your ears will be assaulted by sounds from the synth demo. The mouse controls frequency and loudness, and there are keys that control other commands, which are described in the Console (text area at the bottom of the Processing window).
- Follow the instructions and have fun!
- To make the program stop, you can either:
- Click on the close box on the graphics window, or
- Click on the stop button in the Processing code window.
You can follow this process to run any of the synthesis demos listed below.

- TestAddInst – Demos a simple additive-synthesis instrument with lots of options
- TestMoogFilter – Demos a simple filter with lots of options applied to noise as a precursor to subtractive synthesis
- RingMod – Simple ring modulator to demo amplitude modulation (ported to p5.js)
- RingVoice – Ring modulator applied to a sound file as an effect (ported to p5.js)
- FreqMod – Classic frequency modulation demo with lot of controls (ported to p5.js)
- VocoderVoice – Applies a vocoder to a sound file
- GranFile – Rudimentary granular synthesis using multiple source files
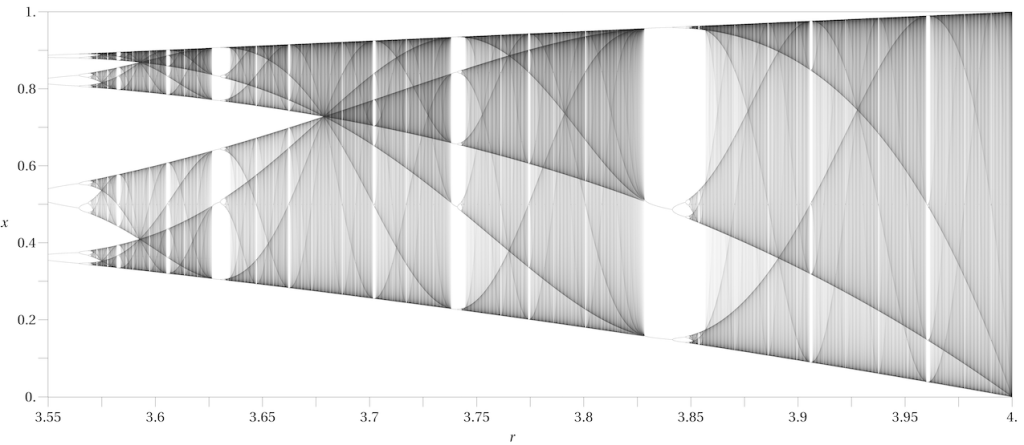
- LogisticGrain – Logistic map mapped to grains for granular synthesis (ported to p5.js)